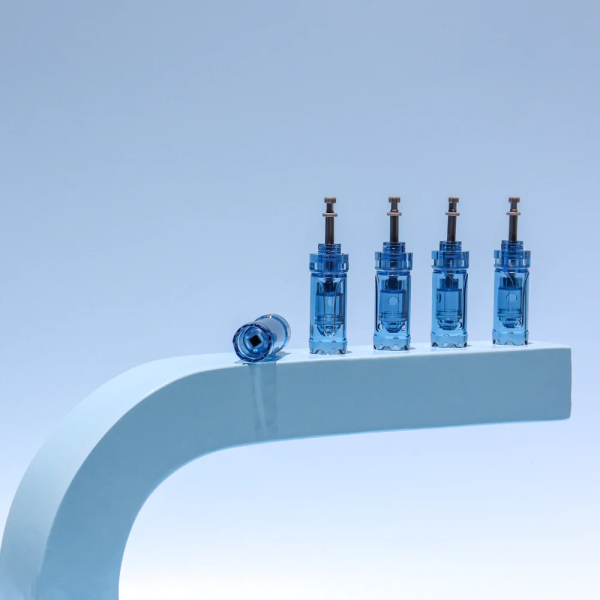
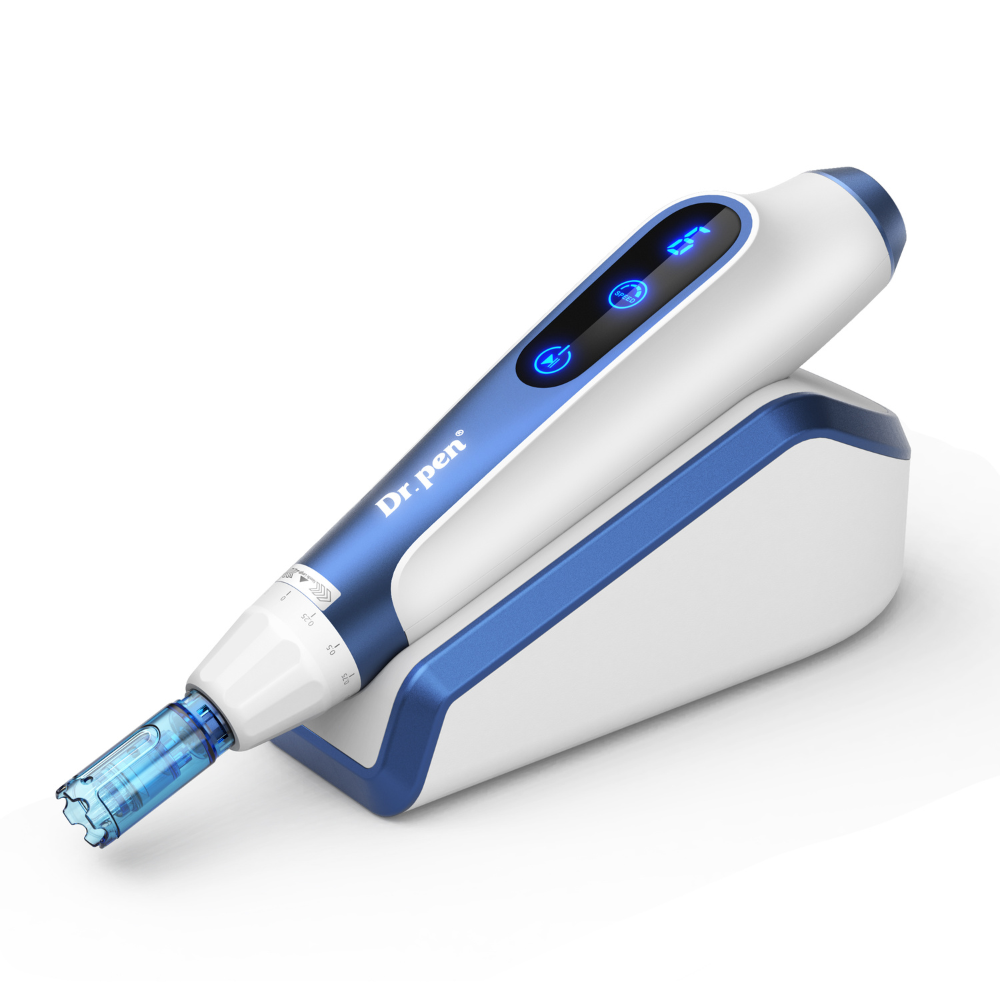
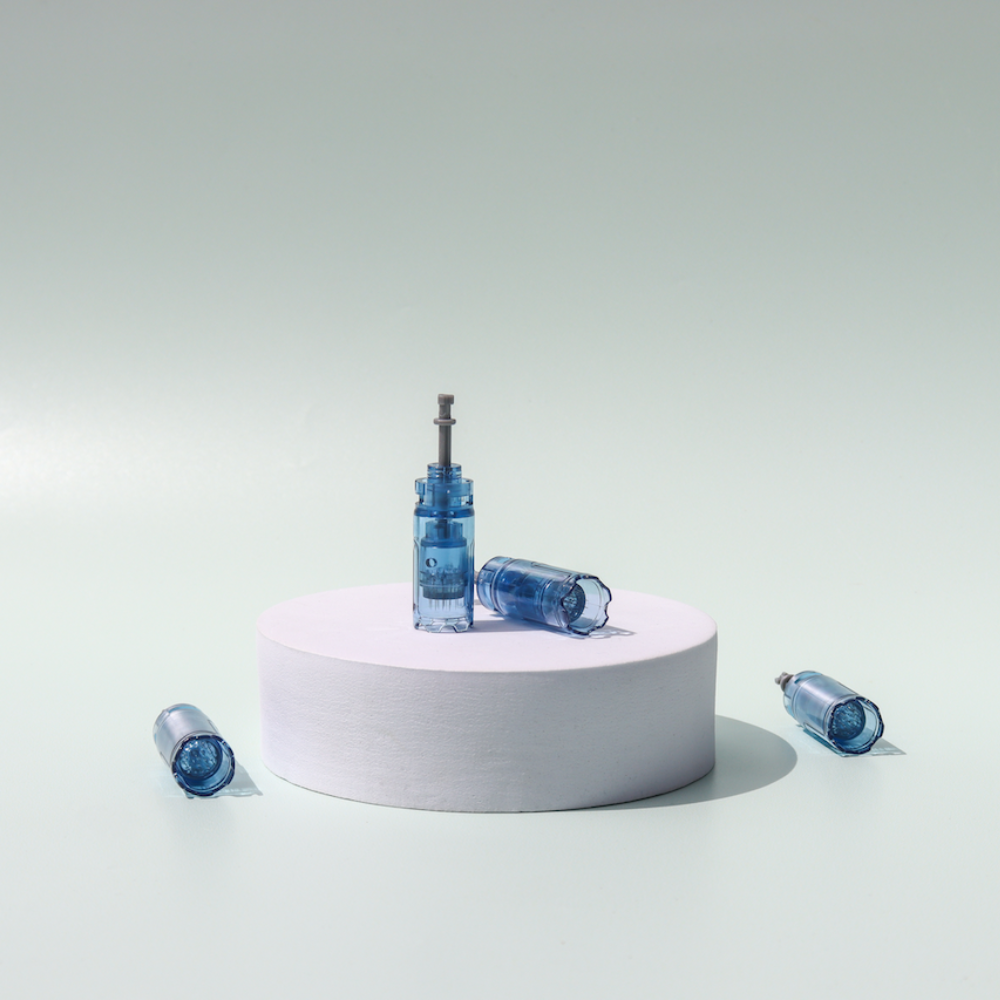
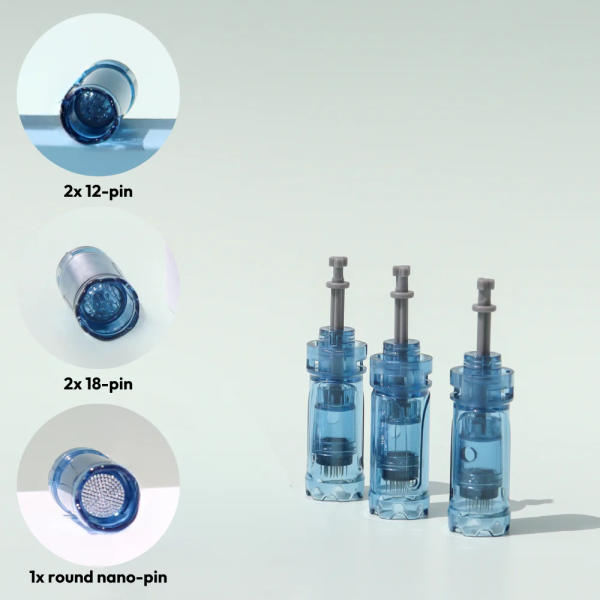
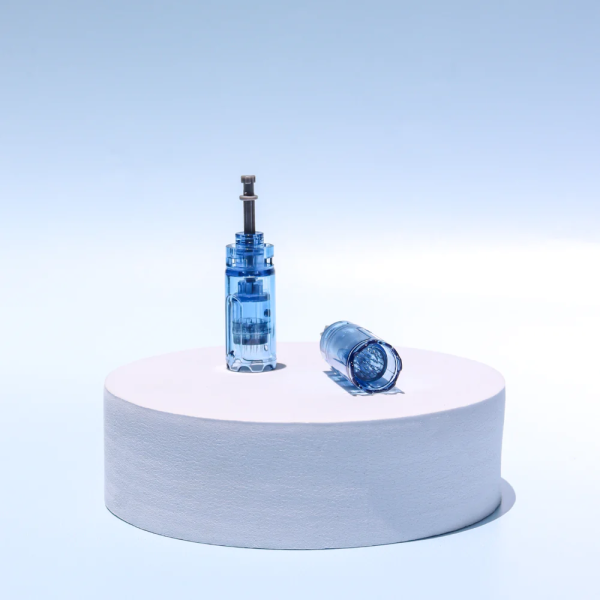
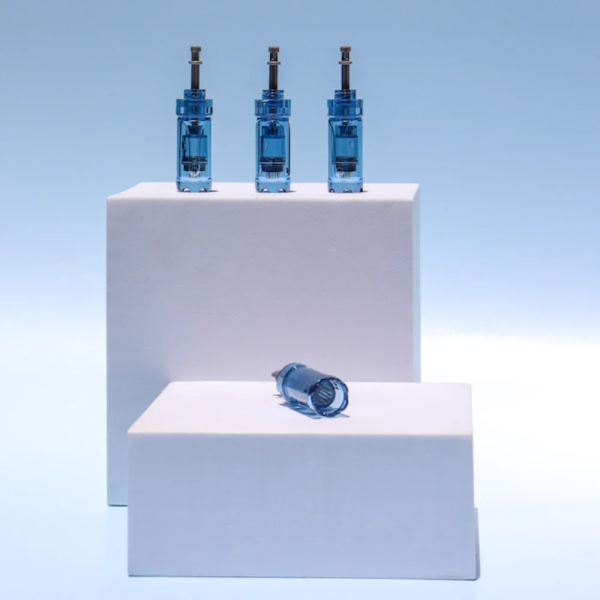
Enhance your skin rejuvenation routine with Nano Square Nanoneedle Cartridges for Dr. Pen A11 Microneedling Pen.
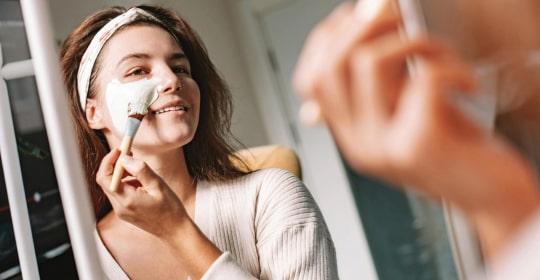
Elevate your skincare regimen with the Nano Square Nanoneedle Cartridges, specially designed for weekly treatments to boost product absorption and achieve a radiant skin glow. Nanoneedling is suitable for all skin types, making it an excellent choice for those exploring microneedling for the first time.
The Square Nanoneedling Cartridges are crafted to target challenging facial areas, ensuring exceptional results in your skincare journey.
Square Nanoneedling Cartridges Benefits: – Up to 97% increase in product absorption compared to topical application – Pain-free application; no numbing cream required – Instant skin glow after treatment – Stimulates collagen production – Brightens complexion – Safe for use in between microneedling sessions – No downtime required – Compatible with active skincare ingredients – Makeup application can be safely resumed after treatment
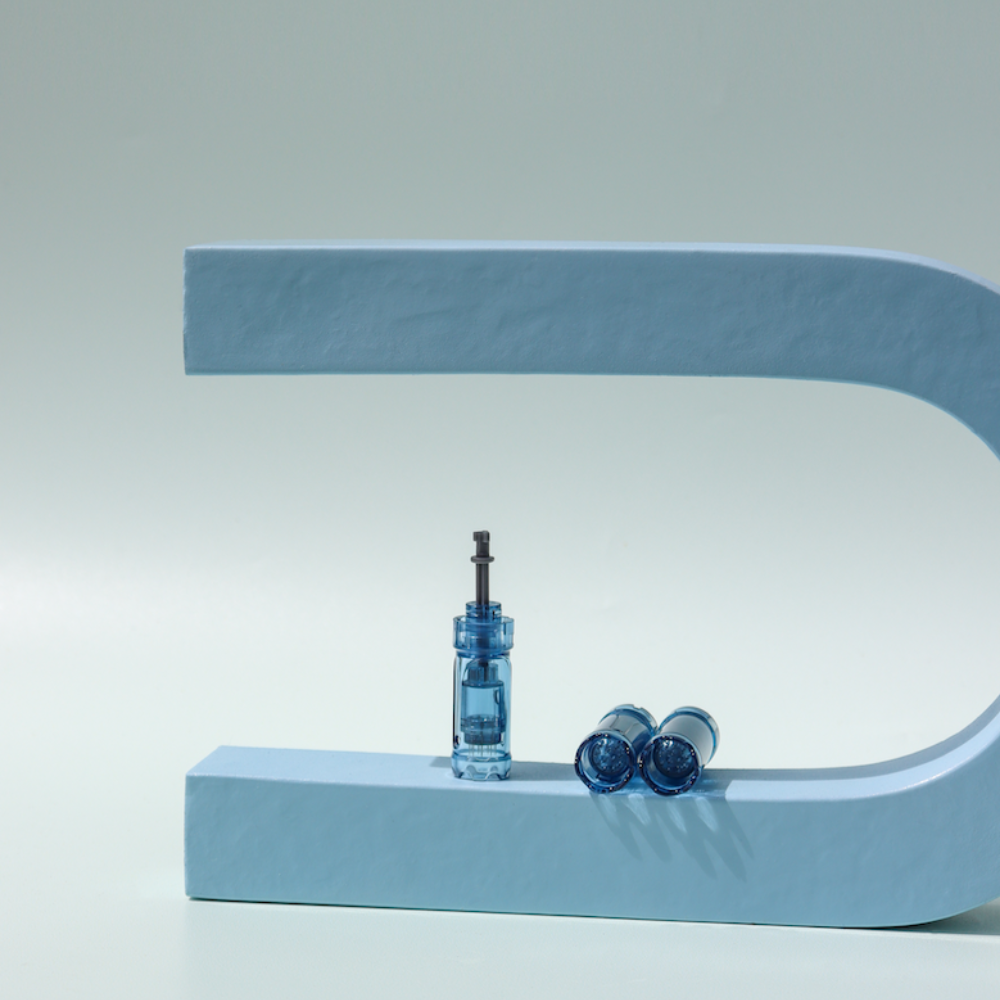
Key Features: – New wavy contact surface for enhanced skincare product absorption – Three-snap fixed structure to protect the device machine – Easy connection with Dr. Pen A11 Microneedling Pen – Fine gauge made from high-quality material
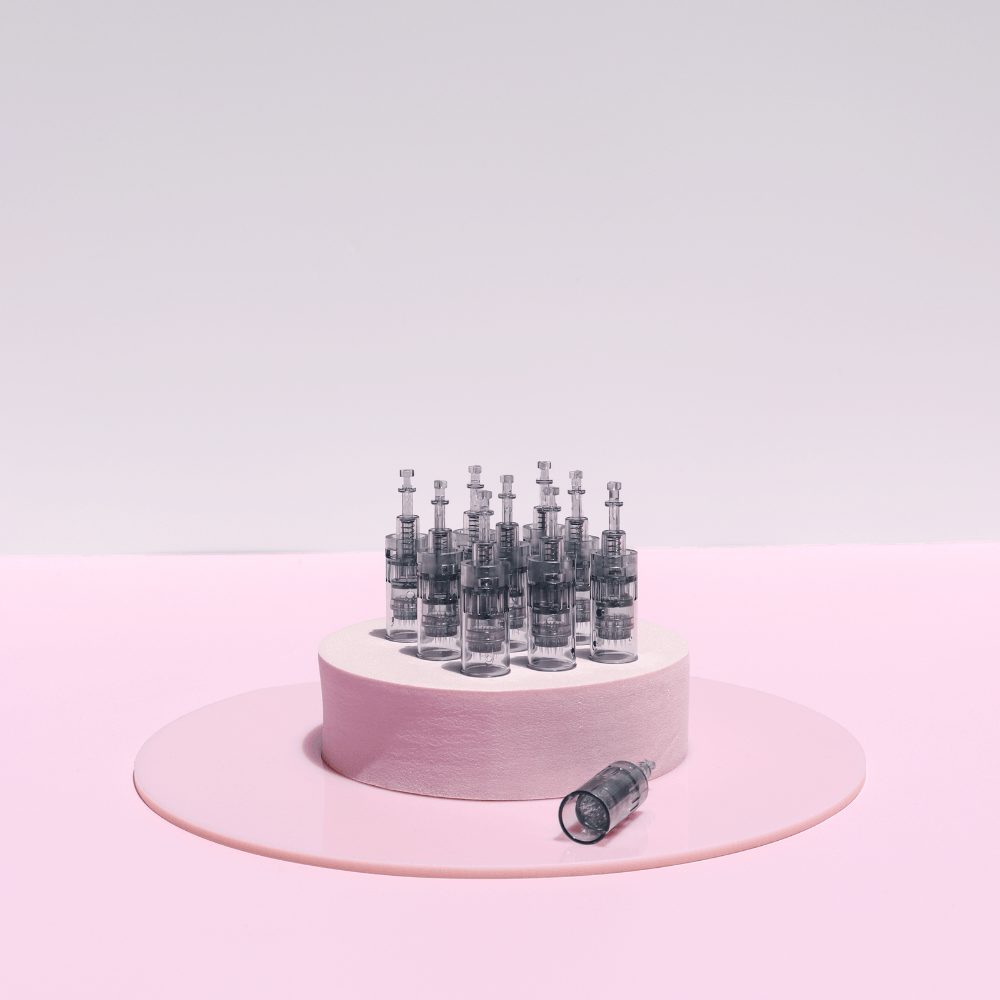
What’s Included: – 10x pack of Square Nanoneedle Cartridges for Dr. Pen A11 Microneedling Pen
DO NOT USE: – On open wounds – On broken skin – On active acne – If irritation occurs
Important Sterilization Steps: 1. Ensure necessary equipment for sterilization: gloves, isopropyl alcohol solution (70% or above), and a clean container. 2. Put on gloves to avoid contamination. 3. Check the cartridge for perfect needle condition, ensuring no bending, and remove any debris. 4. Dip the cartridge needle into isopropyl alcohol solution or use a spray model, then soak for a couple of minutes. 5. Allow the cartridge to air dry before use.
How to Use: 1. Remove the sterile cover on the top of the cartridge. 2. Connect the cartridge to the Dr. Pen A11 Microneedling Pen device. 3. Double-cleanse the face, ensuring it’s clean before applying your favorite skincare products. 4. Set the depth of the nano cartridge. 5. Set the specific speed for your treatment. 6. Turn the pen on, then slowly start the treatment in small areas. 7. Use only a cross-hatch pattern to cover all areas. 8. Apply light pressure and ensure not to drag or pull the skin.
Usage Guidelines: – Schedule weekly nanoneedling treatment with active/non-active ingredients. – Perform nanoneedling in between microneedling sessions to boost your results. – Use Femvy Hyaluronic Acid or Femvy Peptide Complex Serum to complete your treatment.
Disclaimer: Consult your doctor before purchasing any Dr. Pen products. The information provided here is not a substitute for professional medical advice. Read and follow all instructions and information provided with the product. If you have medical concerns, contact your healthcare provider promptly. This product has not been evaluated by the FDA and is not intended to diagnose, treat, cure, or prevent any disease or health condition. For any concerns or questions, please contact your GP or dermatologist.
How to Use Microneedling Devices: A Comprehensive Guide
Microneedling therapy is a revolutionary skincare technology that stimulates the skin's natural repair mechanisms by creating micro-channels, promoting collagen production, and addressing various skin concerns. This guide provides detailed instructions on safely and effectively using MTSPEN microneedling devices at home.
I. Preparation
Required Products:
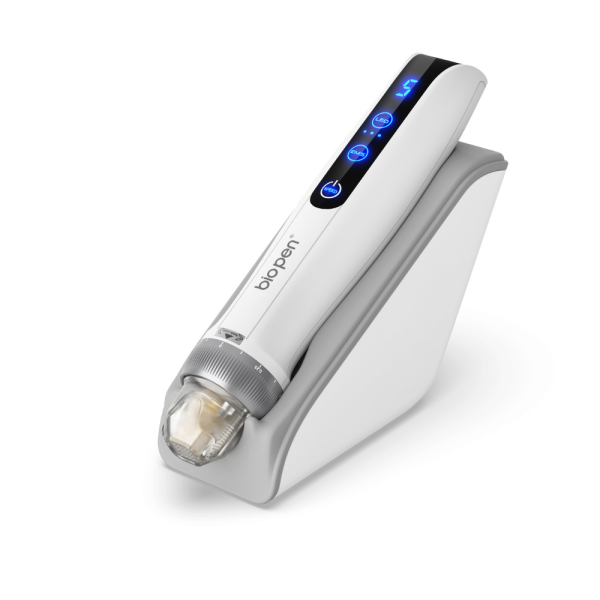
MTSPEN microneedling device (such as Dr. Pen A11, M8S, A9, or Hydra Pen H5)
New microneedle cartridge (must be replaced for each use)
Disinfecting alcohol solution (60% alcohol mixed with purified water)
Cotton pads
Facial cleanser
Hyaluronic acid serum (recommended for microneedling treatment)
Clean towel
Optional: surgical gloves
Optional: numbing cream (containing 5% lidocaine)
Pre-Treatment Preparation:
Avoid Specific Substances: Refrain from taking anti-inflammatory medication, alcohol, or fish oil supplements for 3 days before treatment to reduce bleeding risk.
Cleanse Your Face:
Tie your hair back completely away from your face
Thoroughly cleanse your face twice with your preferred cleanser to remove all traces of makeup and lotions
Any dirt, oil, or stray hairs touching your skin can increase infection or irritation risk
Apply Numbing Cream (Optional):
If your skin is sensitive, use numbing cream containing 5% lidocaine
Apply approximately half the tube to the treatment area
Leave on for 20-30 minutes, then thoroughly remove
Use 60% alcohol mixed with purified water or 0.1 chlorhexidine to wipe off any remaining numbing cream
Removing the numbing cream ensures it won't enter the microchannels created during treatment
Prepare Your Device:
Ensure the device is fully charged or near a power source
Sterilize the device surface and work area
Keep alcohol readily available
To avoid cross-contamination, don't touch anything other than your skin and device during treatment
Consider pouring serum into a small bowl and applying with a brush to maintain hygiene
II. Microneedling Procedure
Apply Serum:
Apply hyaluronic acid serum to the treatment area to lubricate the skin
The serum helps needles glide smoothly over the skin, preventing pulling
Avoid using Vitamin C, retinol, exfoliants, or brightening ingredients during treatment as they may cause irritation
Install the Cartridge:
Ensure your hands are clean; wear gloves if preferred
Open a new microneedle cartridge package and attach it to your device
Do not touch the needle tips
Adjust Needle Depth:
Select your desired needle depth by rotating the dial on your device
Recommended depths for different facial areas:
Forehead: 0.25-0.5mm
Around eyes: 0.15-0.25mm
Cheeks: 0.5-1.0mm
Chin/jawline: 0.5-1.0mm
Nose: 0.25-0.5mm
Upper lip: 0.25-0.5mm
Neck: 0.5-1.0mm
Body: 0.5-1.5mm (for fleshier areas)
Perform Microneedling:
Work in small areas, applying serum to the skin just before needling each section
The recommended movement pattern is vertical, horizontal, then diagonal in both directions
Work in a grid pattern so you know exactly which areas you have and haven't treated
Use light pressure and keep the skin taut with your free hand
Repeat this motion twice over each area
Body Area Considerations:
When treating body areas (such as legs or hands), avoid needling over bony parts (especially on legs)
Only use 36-42 pin cartridges for body microneedling
For legs, use 0.5mm needle depth
For fleshier areas, depths up to 1.5mm can be used
III. Post-Microneedling Care
Immediate Aftercare:
If desired, gently wash your face with lukewarm water
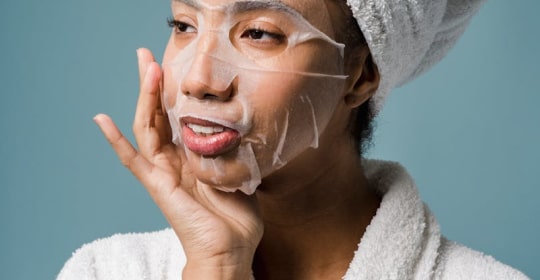
Immediately apply hyaluronic acid serum to the treated area to provide hydration and soothe the skin
Mild redness, swelling, and pinpoint bleeding after microneedling treatment are normal and nothing to worry about
Avoid exercising/sweating or applying makeup for 24 hours
Apply high-protection sunscreen when going outside
If makeup is unavoidable, use products specifically designed for post-treatment or sensitive skin to avoid irritation
24 Hours After Treatment:
Cleanse your face with a gentle cleanser and apply a nourishing moisturizer
Avoid products containing fragrances, active ingredients (vitamin C, A/retinol), acids (lactic, AHA, BHA), physical scrubs, or toners that may cause irritation
Your skin may experience mild swelling, bruising, peeling, and flaking. Minimize these effects by keeping the skin moisturized, which will reduce shedding and alleviate tightness
Continue to avoid exercising, excessive sweating, swimming, or applying makeup for 24 hours
Always apply high-protection sunscreen when outdoors and avoid prolonged sun exposure
48 Hours After Treatment:
Optional: If you have dry/flaking skin, you can begin gently exfoliating to speed up recovery
Do not use chemical or harsh physical exfoliants; opt for a washcloth with gentle pressure
If your skin feels sensitive, do not exfoliate—the dryness and flaking will naturally subside
Continue hydrating your skin morning and night
3-5 Days After Treatment:
Continue applying high-protection sunscreen daily and avoid direct and extended sun exposure
Focus your skincare routine on hydrating and moisturizing products
Continue avoiding active ingredients, acids, scrubs, and toners
7+ Days After Treatment:
You may return to your regular skincare routine
Wait at least 4-6 weeks before your next microneedling treatment to allow full skin recovery
IV. Recommended MTSPEN Products
Microneedling Device Series:
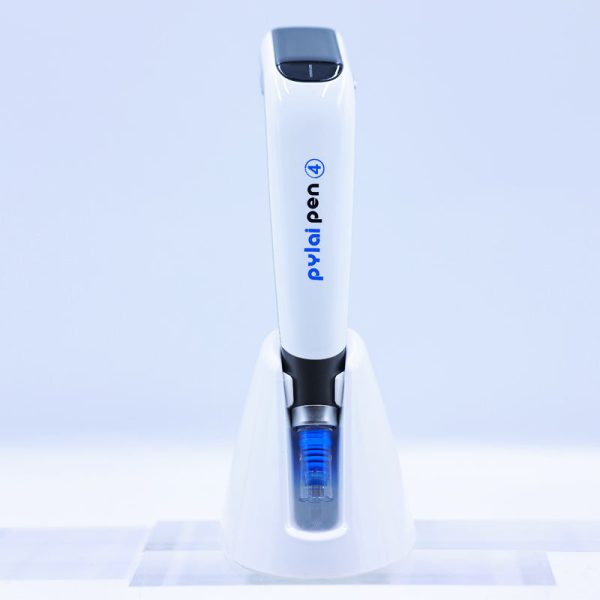
Pylai Pen 4 Auto Microneedle System:
Designed to tighten, lift, and rejuvenate skin
Particularly effective for fine lines around the lips, eyes, and forehead, reducing scars and stretch marks, and addressing aging and hyperpigmentation issues
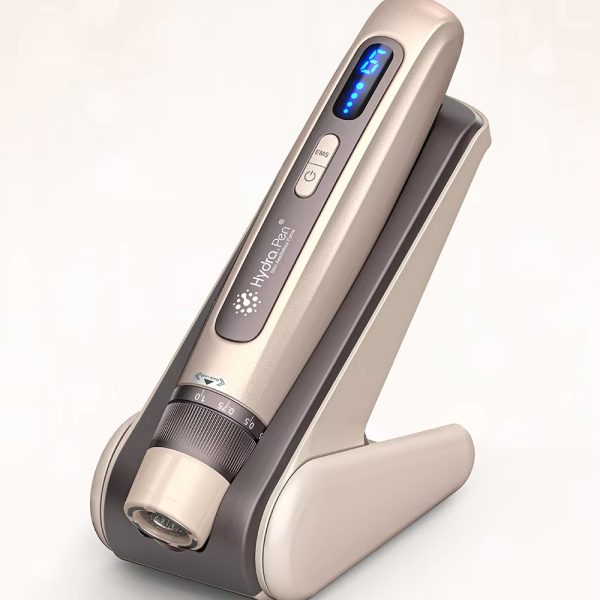
Hydra Pen H5 Serum Infusion Microneedling System:
Combines 4-pole EMS (Electrical Muscle Stimulation) technology with microneedling
Provides deep nourishment while enhancing the skin's natural healing process
Especially suitable for reducing wrinkles, fine lines, and improving skin texture
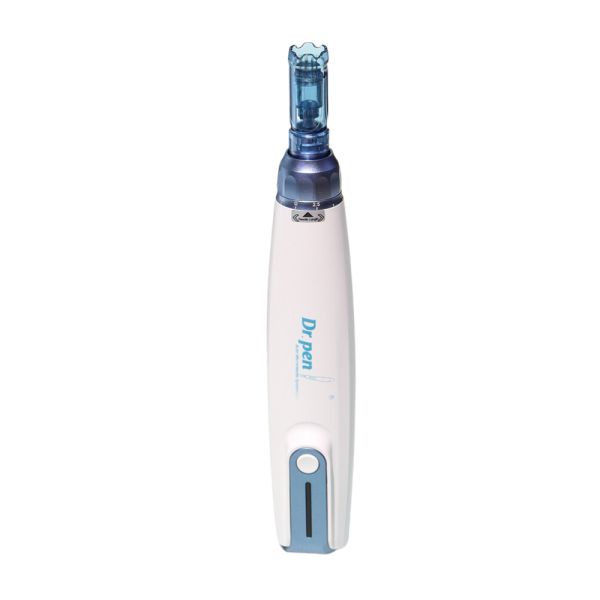
Classic Microneedling Pen Series:
Includes various models such as Q2, A11, A9, M8, and M8S
Targets different application scenarios and treatment needs
Complementary Skincare Products:
Serum Series:
Specially designed to work with microneedling treatments
Contains high concentrations of active ingredients delivered directly to the dermal layer through channels created by microneedling
Repair Products:
Help skin recover quickly after microneedling treatment
Enhance treatment effects
Gentle Cleansing and Moisturizing Products:
Suitable for use before and after microneedling treatment
Non-irritating to sensitive skin that has received treatment
V. Frequently Asked Questions
Is microneedling painful?
Using appropriate numbing cream can significantly reduce discomfort. Pain level also depends on the needle length used and individual pain threshold.
How long is the recovery period?
There is no extended downtime, but you may experience mild redness and peeling for the first day or two after treatment. If you need to attend an event within 48-72 hours, it's advisable to avoid microneedling treatment.
How often can I do microneedling?
For optimal skin recovery, it's recommended to perform microneedling once every 4-6 weeks.
What skin concerns can be addressed with microneedling?
Microneedling effectively improves various skin concerns, including:
Neck wrinkles
Acne scars
Fine lines and wrinkles
Enlarged pores
Uneven skin tone
Receding hairline/thinning hair
By creating microchannels that promote collagen production, microneedling effectively stimulates the skin's natural repair mechanisms, improving texture and appearance.Remember, consistent adherence to proper care protocols and regular treatments are key to achieving optimal results. After each treatment, your skin will gradually become firmer, younger-looking, and smoother.Source: https://www.mtspen.com/


Reviews
There are no reviews yet.